Have you ever started a long-running task on your server over SSH and lost connection halfway through? It’s frustrating, especially when that task doesn’t resume and you have to start over. Thankfully, that’s where GNU Screen comes in — a powerful yet lightweight terminal multiplexer that lets you install and use Screen on Ubuntu to run terminal sessions that stay alive, even if your connection doesn’t.
With Screen, you can disconnect, reconnect, and pick up right where you left off — without interrupting your running processes.
In this quick guide, we’ll show you how to install and use Screen on Ubuntu (works great on Ubuntu 20.04 and later).
What You’ll Need
- An Ubuntu-based system (20.04 or later recommended)
- Root or sudo access
- SSH access to the server
Installing Screen on Ubuntu
First, connect to your server using SSH:
ssh root@your-server-ip
Now update your system and install Screen:
sudo apt update
sudo apt install screen

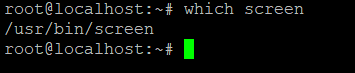
Now that you’ve successfully installed Screen on Ubuntu, Once installed, you can confirm it with this command:
which screen
If Screen is installed properly, this will return the path to the binary (usually /usr/bin/screen).
Starting a Screen Session on Ubuntu
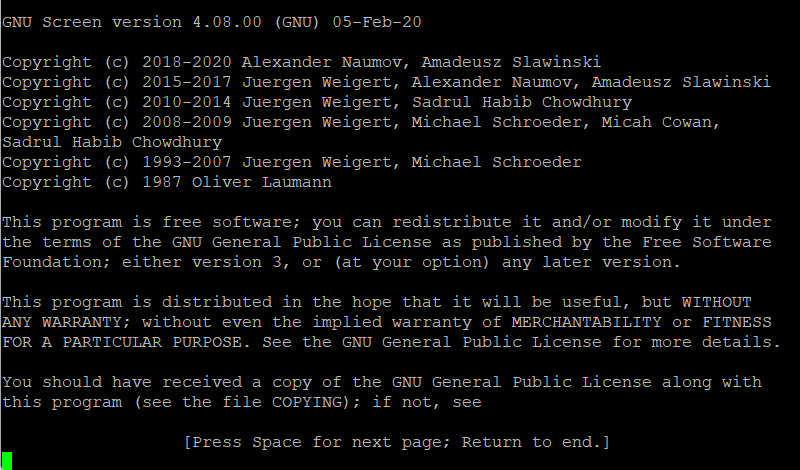
Next, launch a new screen session by typing the command below:
screen
After running the command, you’ll see a welcome message. Press Enter to proceed. You’re now inside a screen session!
Output:
Create a Named Screen Session
To better manage multiple sessions, it’s a good idea to give each one a name. Here’s how:
screen -S mysession
For example:
screen -S backup_task
Detach from a Screen Session
To disconnect from a session without stopping it, use this keyboard shortcut:
Ctrl + A, then D
You’ll exit the screen session, but everything inside it keeps running in the background. Great for long-running scripts, updates, or rsync jobs.
Reattach to a Screen Session
If you disconnected from a screen session, you can rejoin it like this:
screen -r
If you have multiple screen sessions, list them first:
screen -ls
Sample output:
There are screens on:
    1234.backup_task  (Detached)
    1122.update_logs  (Detached)
Then reconnect to a specific session like this:
screen -r 1234
Extra Tips
- Use
exitinside a screen session to close it entirely. - Create multiple named sessions to manage different tasks.
- Screen sessions stay alive until you manually close them — even if your SSH connection drops.
Conclusion
That’s it! You now know how to install and use Screen on Ubuntu to keep long-running processes safe, even with an unstable SSH connection.
GNU Screen is a must-have tool for any Linux user working with remote servers. Whether you’re running updates, managing long tasks, or multitasking in the terminal — Screen gives you flexibility and peace of mind.
Additionally, if you want to explore more, check out our SSH key authentication guide or the GNU Screen manual for advanced options.
Thanks for reading! If you found this guide helpful, consider bookmarking LinuxHacks.net for more simple, no-nonsense Linux tutorials.
👉 Have questions or tips of your own? Drop them in the comments below!
👉 Don’t forget to share this article with your fellow Linux geeks.