When you set up a Linux server, one of the first things to do is give it a hostname — a simple name like webserver1 that’s easier to remember than an IP address (e.g., 192.168.1.20).
If your server is online, you’ll also need a Fully-Qualified Domain Name (FQDN), which is like its full address on the internet. For example:
server1.linuxhacks.netmail.linuxhacks.netdb01.linuxhacks.net
Think of it this way:
- Hostname = local nickname
- FQDN = complete internet address
An FQDN is especially important for web hosting servers, SSL certificates, and email services — it makes sure your server is properly recognized and reachable.
Check Your Server’s Current Hostname
Before you make any changes, it’s a good idea to see what the current hostname is. This helps you confirm that your new settings are applied correctly.
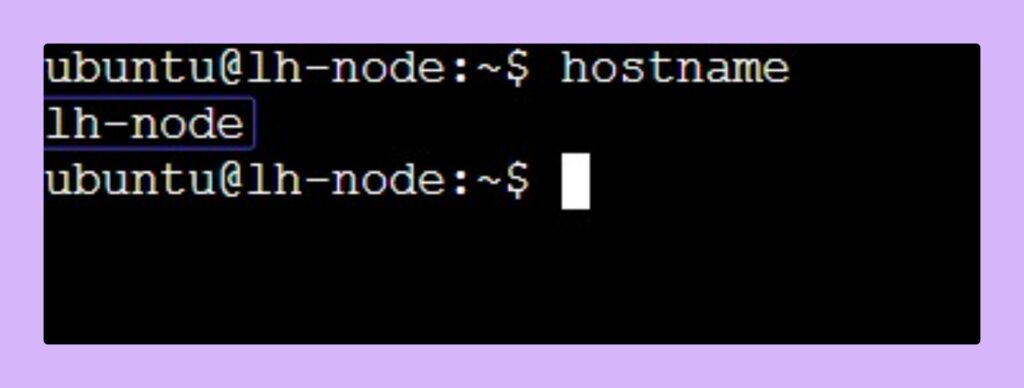
- Type the following command into the terminal and press
Enter:
hostname
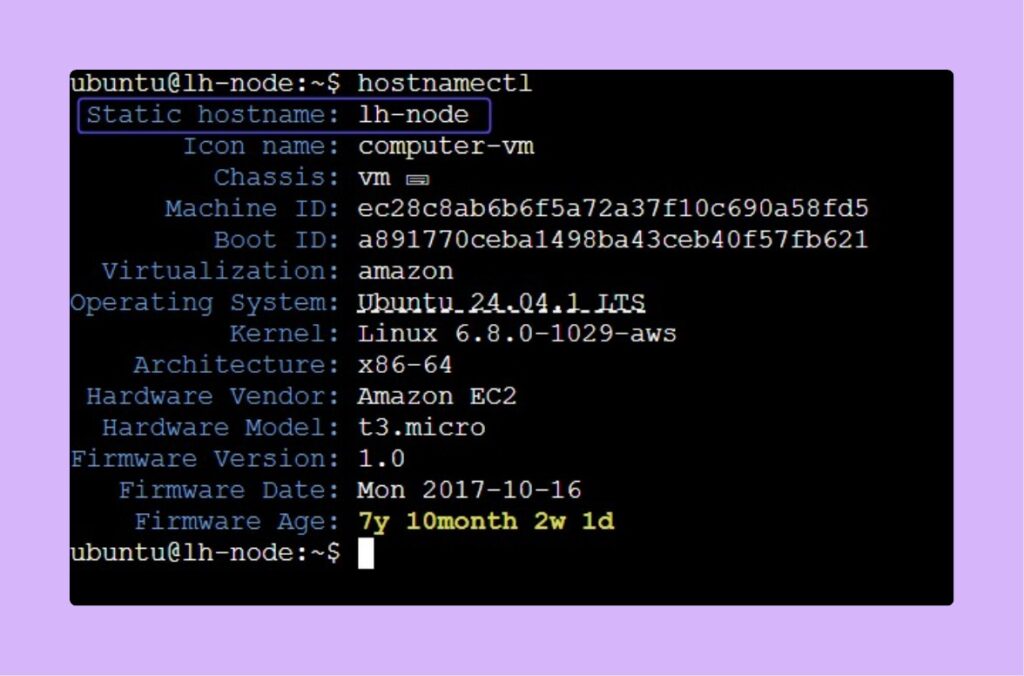
- For more detailed information, try:
hostnamectl
This will show you whether your system is using a simple hostname or already has an FQDN set up.
Example output:
Change the Hostname
For Modern Systems (Ubuntu, Debian, CentOS 7/8, Rocky Linux, Fedora)
If you’re running a modern Linux distribution with systemd (which covers most systems these days),Type:
- (Replace
your-new-hostnamewith your desired hostname)
sudo hostnamectl set-hostname your-new-hostname
If you want to set an FQDN instead:
- (Replace
webserver1.linuxhacks.netwith your desired Fully-Qualified Domain Name)
sudo hostnamectl set-hostname webserver.linuxhacks.net
For Older Systems (Pre-Systemd)
On older Linux systems, you can change the hostname with:
sudo hostname new-hostname your-new-hostname
⚠️ Heads up: This change will disappear after a reboot! To make it permanent, you’ll need to edit some configuration files (don’t worry, we’ll cover that next).
Update the Hosts File (For All Distributions)
To ensure the new hostname is correctly recognized by your system, you need to update the /etc/hosts file. This file helps link hostnames to IP addresses.
- Open the hosts file using a text editor. Here, we will use
nano, which is user-friendly:
sudo nano /etc/hosts
- Locate the Line to Edit: In the file, look for a line that starts with
127.0.0.1. It may look like this:
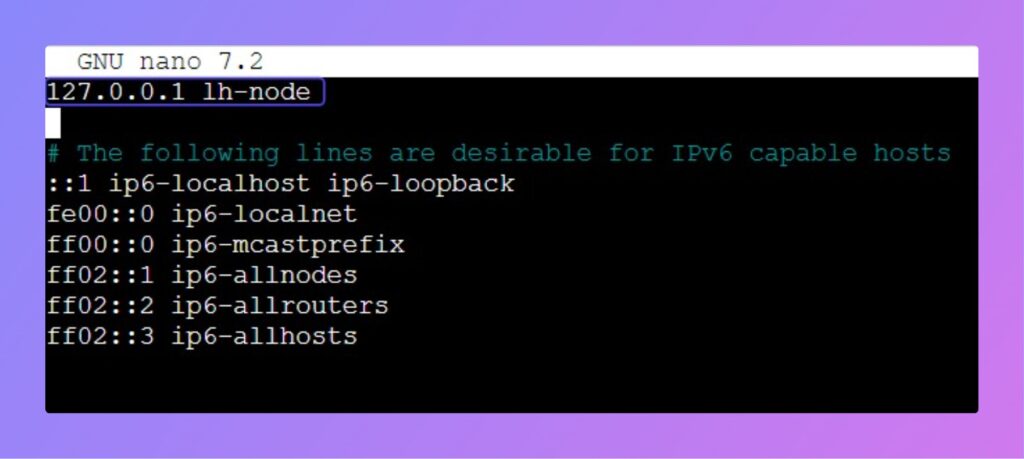
127.0.0.1 localhost current-hostname
- Change the Old Hostname to your new one:
- Replace
your-new-hostnam1with your desired hostmane.
- Replace
127.0.0.1 localhost your-new-hostname
- If you’re setting up an FQDN, update it like this:
- Replace
webserver1.linuxhacks.netwith your desired FQDN.
- Replace
127.0.0.1 webserver1.linuxhacks.net webserver1
- Save and Exit:
- To save your changes in
nano, pressCtrl + O, thenEnterto confirm. - Exit the editor by pressing
Ctrl + X.
- To save your changes in
Reboot the System
To apply the changes you’ve made, you need to restart your server. This ensures that all services recognize the new hostname.
sudo reboot
- Your system will restart. Wait a few moments for it to come back online.
Verify New Hostname
After reboot, let’s make sure the hostname change worked:
hostname
Or for more details:
hostnamectl
You should now see your new hostname or FQDN displayed. Congratulations!
Important Considerations
- Temporary vs. Permanent Changes: The
hostnamecommand (withouthostnamectl) will only temporarily change the hostname until the next reboot. The methods described in this article, usinghostnamectlor editing the configuration files, make permanent changes. - Choosing a Hostname: A good hostname should be descriptive and easy to remember. Avoid using spaces or special characters. It’s a common practice to use hyphens to separate words (e.g.,
web-server-01). - Updating DNS Records: If your server is part of a larger network with a DNS (Domain Name System), you must also update the DNS records to reflect the new hostname. Failure to do so can cause network communication issues.
Conclusion
Changing your Linux server’s hostname or FQDN is a simple process, but it’s surprisingly important for good server management—especially when you’re working with multiple machines or hosting web services. Whether you’re running Ubuntu, CentOS, Debian, Fedora, or Rocky Linux, you can easily set a hostname using hostnamectl and make it stick by updating /etc/hosts.
By giving your server a proper FQDN like “webserver1.linuxhacks.net,” you’re ensuring that it’s clearly identifiable on the internet and ready for hosting services, SSL certificates, and email setups. A well-named server is a happy server!